LED strip lights fixtures are one of the maximum bendy and coffee-fee methods to decorate your region. Whether you’re trying to upload mood lights on your bed room, beneath-cupboard lighting on your kitchen, or perhaps accent lights in a company showroom, LED strip lights offer a flexible, strength-efficient, and appealing solution.
In this distinct guide, we’ll stroll you through a manner to set up LED strip lighting step by step, ensuring a smooth, professional-searching give up whether or not or now not or now not it’s your first DIY lighting fixtures undertaking or you are upgrading an existing setup.

Why Choose LED Strip Lights?
Before leaping into the set up, permit’s understand why LED strip lights have become the flow into-to choice for every proprietors and industrial designers.
✔️ Energy Efficient
LED strips eat considerably a good deal much less strength than traditional incandescent bulbs, due to this lower software payments and a discounted carbon footprint.
✔️ Flexible and Customizable
These lighting fixtures are designed to be lessen, bent, and fashioned, making them first-class for tight regions, curves, and hard designs. Available in single-color, RGB, and smart controllable versions, LED strips adapt for your mood and desires.
✔️ Long-Lasting
High-tremendous LED strips can last up to 50,000 hours, saving you time, cash, and try on common replacements.
✔️ Stylish and Discreet
With slender profiles and optionally available aluminum channels, LED strips offer a sleek lighting end with out bulky furnishings.
What You’ll Need for Installation
Make sure you’ve got those substances and equipment organized earlier than starting your LED strip slight venture:
LED Strip Lights: Choose the best kind (unmarried-color, RGB, or clever).
Power Supply (Driver/Adapter): Must suit the strip’s voltage (normally 12V or 24V) and wattage.
LED Connectors: For turning into a member of segments or corners.
Aluminum Channels (optionally available): For warmth dissipation and a cleanser appearance.
Mounting Accessories: Double-sided adhesive tape or mounting clips.
Scissors or Precision Cutter: To lessen the strip at marked factors.
Wire Strippers or Soldering Tools (non-obligatory): For regular, custom connections.
Cleaner (e.G., rubbing alcohol): For prepping surfaces before mounting.

Step-with the useful resource of-Step Installation Guide
Step 1: Plan Your Layout
Start by the use of figuring out in that you want your LED strip lighting. Planning in advance lets in avoid ultimate-minute troubles and guarantees the strip length and energy supply are suitable.
Measure Accurately: Use a tape degree to get the right length of each ground.
Account for Power Drop: If your layout exceeds five meters, bear in mind using an amplifier or a second energy deliver to keep away from voltage drop.
Mark Cutting Points: LED strips have copper pads or scissor icons at intervals—most effective lessen at the ones marked spots.
Pro Tip: Sketch your setup and calculate common wattage to pick out a well ideal power deliver.
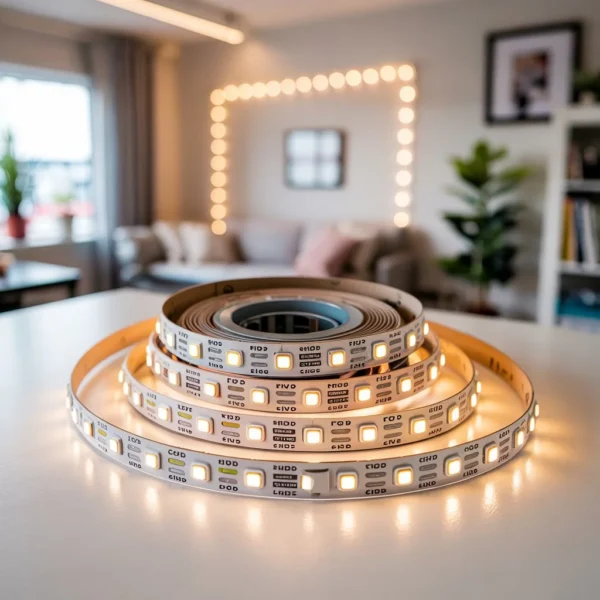
Step 2: Cut the LED Strip
If your LED strip is just too lengthy, lessen it most effective at the precise slicing traces—typically marked with a dashed line or scissors icon. Cutting at the incorrect spot can harm the circuit and make the strip unusable.
Step 3: Prepare the Surface
Clean the mounting region very well to assist the adhesive stick well. Use rubbing alcohol or a slight cleanser to wipe away dirt, grease, and particles. Let the area dry surely in advance than making use of the strip.
Step 4: Mount the LED Strip
There are maximum crucial techniques to mount your LED strip lighting:
A. Peel-and-Stick Adhesive Backing
Most LED strips encompass pre-accomplished adhesive. Simply:
Peel off the backing.
Press the strip firmly onto the smooth, dry ground.
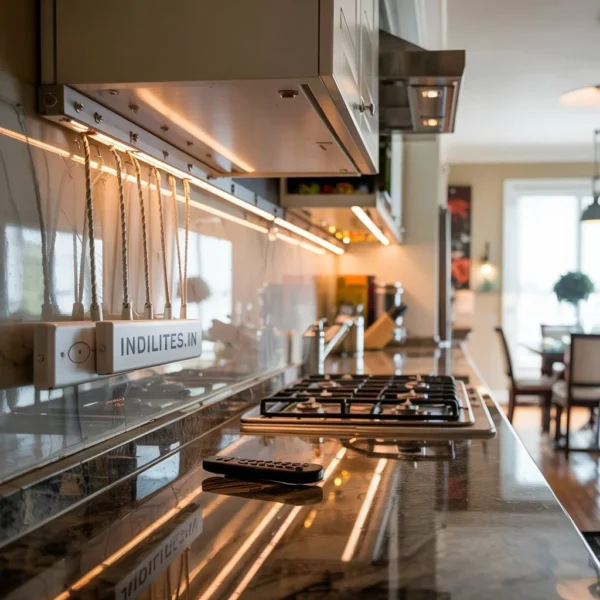
B. Clips or Aluminum Channels
For an prolonged-lasting, professional stop, specially on ceilings or difficult surfaces:
Install mounting clips every 30–50 cm.
Or use aluminum channels with diffusers for a tidy, top beauty appearance and better warmth control.
Step 5: Connect to Power
For Plug-and-Play Kits:
Plug the strip’s connector immediately into the energy adapter.
Then plug the adapter right right right into a wall outlet.
For Hardwired or Custom Installations:
Use LED strip connectors or solder the strip’s notable (+) and horrible (-) wires to the strength supply.
Be satisfactory to in shape the voltage and polarity to prevent damage.
Safety Tip: Always switch off the energy earlier than making any electric connections.
Step 6: Test the Lights
Once related, activate the electricity deliver. Check for:
Full Illumination: Make sure all segments are lit lightly.
Correct Polarity: If segments don’t moderate up, strive reversing the connector.
Stable Output: Flickering may want to suggest free connections or inadequate strength.
Step 7: Hide and Secure the Wires
A neat set up complements the seen attraction:
Use wire clips, channels, or adhesive raceways to cover power cables.
Run wires along the again of furnishings, baseboards, or below shelves.
Zip ties can help bundle greater cable length.
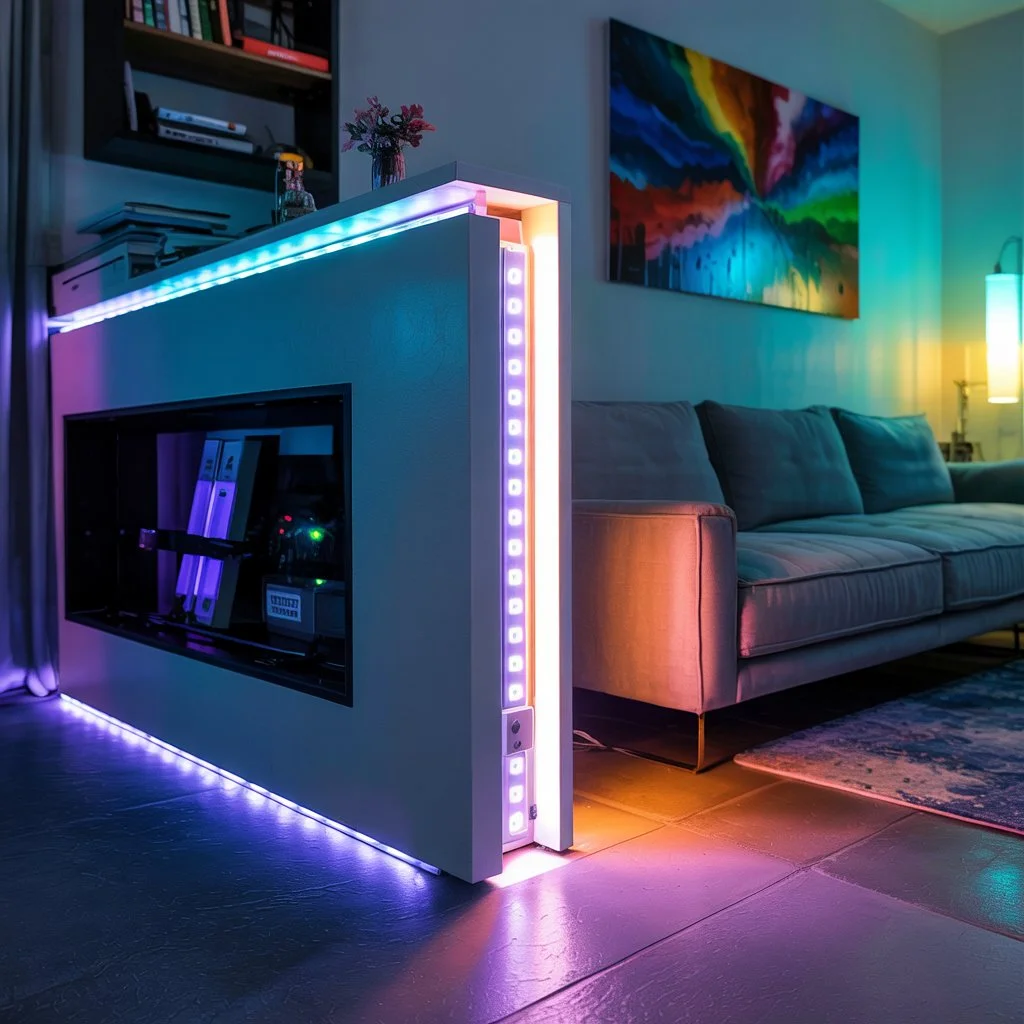
Step 8: Add Smart Controls (Optional)
If the usage of RGB or clever LED strips, beautify capability with:
Remote Controls: For brightness and colour modifications.
Mobile Apps: Manage your lights via Wi-Fi or Bluetooth.
Voice Assistants: Control lights fingers-free the usage of Alexa, Google Assistant, or Siri.

Tips for a Long-Lasting Installation
Keep your LED strip lights in pinnacle shape with the aid of the usage of following those protection and safety hints:
Avoid Sharp Bends: Gently curve the strip—do now not fold or kink it.
Use Waterproof Strips for Outdoors/Bathrooms: Look for IP65 or better scores.
Dust Regularly: Clean with a mild, dry cloth to maintain brightness.
Don’t Overload Power Supplies: Stick to the encouraged wattage.
Secure Connections: Use solder or proper connectors rather than tape by myself for sturdiness.
Frequently Asked Questions (FAQs)
Q1: Can I be part of more than one LED strip Lights to at least one strength deliver?
Answer: Yes, however make certain the entire wattage of all strips mixed doesn’t exceed the output ability of the energy supply. Use splitters or amplifiers as needed.
Q2: Why is my LED strip Lights flickering or flashing?
Answer : This can be due to:
Loose connections
Incorrect voltage
A failing strength adapter
Strips taking walks past their maximum recommended period
Q3: Are LED strip Lights safe for bedrooms?
Answer : Absolutely. LED strips emit very little warm temperature, are energy-inexperienced, and strong to use round furnishings and walls. Just make certain right air flow if established in enclosed areas.
Final Thoughts: Light Up Your Space the Right Way
Installing LED strip lighting is one of the easiest and fine tactics to elevate your interior design. Whether you are going for a comfy bedroom environment, a sleek kitchen enhance, or a business showroom transformation, following the ones steps will assist you obtain cute outcomes without trouble.
At IndiLites.In, we provide brilliant LED strip lights designed for every beginner DIYers and expert installers. With smart functions, long lasting manufacturing, and set up assist, we’re your one-save you shop for the whole lot LED.
Ready to brighten up your property or workspace?
Visit IndiLites.In to discover our kind of LED strip lighting fixtures, add-ons, and professional installation guidelines.
Make your region shine—smart, stylish, and sustainable.