
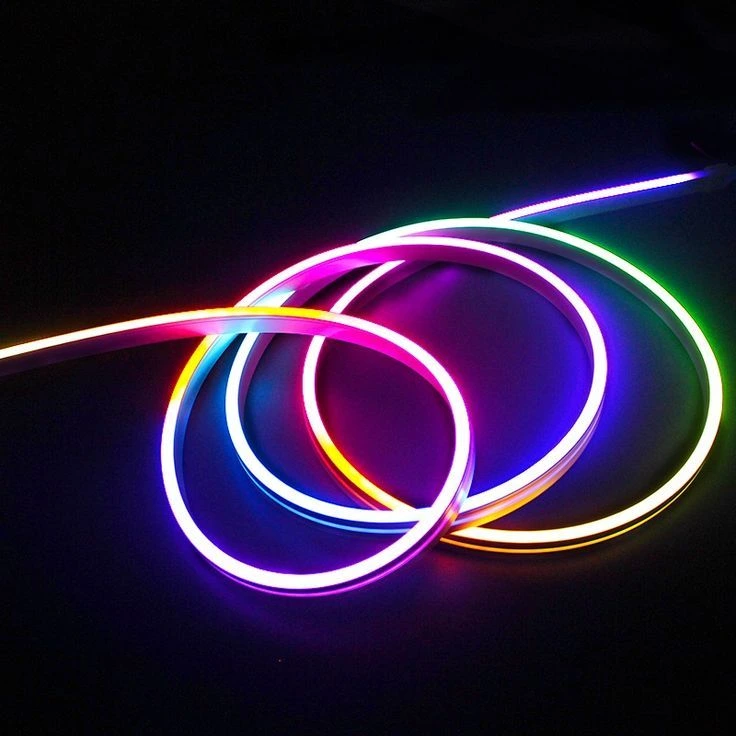
LED strip Light
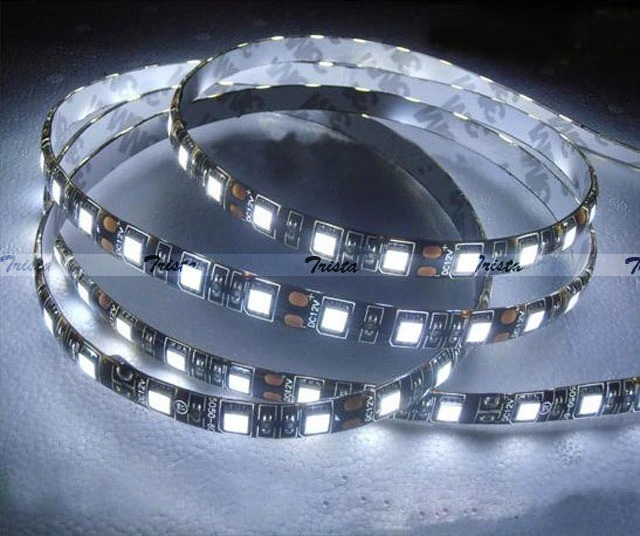
LED strip lights are those bendy boards with tiny lights (LEDs) that give you bright, energy-saving, and adjustable lighting. These lights are available in basic colors, RGB, and even smart versions that allow connection to your Wi-Fi. Just to light things up or use them for decoration are some of the ways you can use them
How to Repair LED Strip light ?
The typical power for these lights is 12V or 24V. Just cut them to the length you need and clip them together with connectors – they’ll fit in almost any space. They are equipped with sticky backs that make it very easy to adhere them – under your cabinets, behind the TV, on the ceiling. Go get the waterproof ones and put them outside! They run on low power, have a long lifespan, and you are free to choose any atmosphere. They are perfect for your home, office, store, or a party. Apart from that, you are able to lower the brightness or adjust the colors in order to get the one that fits you best. They’re easy to fix and keep running, making them one of the better lighting options out there.
repair led strip light usually means spotting what’s wrong and fixing it without swapping the whole thing. First, check the power. Often, the plug is bad, something’s loose, or the voltage isn’t right. A multimeter will tell you if power is flowing. If it still doesn’t light up, look for any parts that are burnt, dim, or broken. Sometimes, only part of the strip fails because of a cut or bad copper bit. At the location where the item is damaged, remove the broken part, and then join the two ends by using clips or solder. In case an LED has stopped functioning, remove it, and install a new one by soldering it, ensuring that the direction is correct. Put the loose things in order and for the safety of the exposed wires, use electrical tape or heat shrink. Before you reattach your light, run a quick test to make sure your repair is done properly. Easy stuff like loose parts? Fixable! But if there’s too much damage, just buy a new one, it’ll be cheaper. Go slow, use the right tools, and you can get your LED strip working good as and keep your lights looking good
Problems in LED Strip Light
1. Strip Doesn’t Turn On
Generally, these strips need 12V or 24V, and if you use the wrong adapter they will not go on. On some occasions, the adapter may stop working or not be securely connected.
2. Only part of the strip lights up.
In a situation where only a part of the lights is on, there is a high probability that the area that is not lit has a slight cut, crack, or a bad wire. These strips are made in separate parts, therefore a fault in one place does not cause the whole thing to fail.
3. Dim or Flickering Lights
LEDs that look dim or flicker from time to time can have their origin in various factors. It could be a low voltage, partially corroded soldering locations, or even a disconnection or an incomplete connection that caused this. The power supply might not have enough power, particularly if a long strip – the lights at the end might be getting less power and hence, they will be dimmer.
4. It gets too hot.
LEDs still make heat. Besides that, mounting them on wood or plastic can lead to the heat getting trapped around the lights, which would make them dim, the adhesive would lose its quality and the LEDs' lifespan would be shortened. Use metal to help cool them down.
5. Colors are wrong (RGB Strips).
On RGB strips, you might see the wrong colors or different colors on parts of the strip. A bad LED, controller, or the RGB wires are wrong. Also, long strips can have low voltage at the end so colors look off.
6. Sections burn out.
If some LEDs go dark, it’s from power spikes, heat, or maybe they were just made poorly. You can’t really fix a dead section unless you solder in a new LED, which is hard.
7. Peeling off.
A common issue is that the sticky back loses grip. Heat, dust, or not being stuck to a flat area can make it fall. Use stronger tape or metal clips to hold it up tightly.
8. Water Damage
Strips for indoors aren’t waterproof. If they get wet, they can break. For outside or the bathroom, use strips that are rated IP65 or higher to keep water out.
9. Controller or Remote isn’t working
The remote or controller may be the source of the problem with the color-changing or smart strips. . Try resetting or swapping the controller.
10. Voltage is low on long strips.
Extended strips (exceeding 16 feet) experience voltage drop, resulting in diminished brightness at the terminal end. The fix is to use signal amplifiers, larger thicker wires, or multiple power supplies to keep the light consistent.
Tools You May Need
1. Soldering Iron and Solder
One of the crucial tools for LED strip repair is definitely the soldering iron. It is the tool that helps you to re-solder broken copper pads, to put new wires and to change the defective leds. Using high-grade solder makes the joints strong and the bonds stable.
2. Wire Cutter and Stripper
Wire cutters and strippers are the perfect tools to shorten, to remove insulation, and to prepare the ends for soldering or connecting in a proper way. They allow you to work with precision and eliminate the problem of short circuits caused by exposed wires.
3. Multimeter
A digital multimeter is very helpful to locate defects in LED strips. It measures voltage, continuity, and current flow and can find out if the problem is in the power supply, connectors, or the strip itself.
4. LED Strip Connectors
Clip-on connectors allow you to easily connect the cut pieces of the strip or to reconnect the broken parts without the need of soldering. They are especially practical when you want to make a quick repair or to extend the strip.
5. Electrical Tape or Heat Shrink Tubing
It goes without saying that it is necessary to insulate any exposed electrical connections to ensure safety and to prevent the connections from being used for a long time.
6. Replacement LEDs or Strip Segments
If some parts of the strip or the individual LEDs have been damaged, having spare parts will allow you to replace them without getting a whole new strip. Be sure that the replacements correspond to the original type and voltage.
7. Power Supply (Adapter)
It can happen that the reason the strip is not working is not the strip but the power source. Having a spare and compatible adapter is necessary for testing and enabling you to find out in no time whether the power unit is the one with the problem.
8. Small Screwdrivers and Tweezers
As the name indicates, screwdrivers are the tools to open devices while tweezers are used for handling the very small parts. For example, in the case of controllers, connectors, power supplies, and so on, a screwdriver will help you gain access inside, and tweezers will allow you to hold the tiny components and wires.
Safety Tip
While repair led strip light, it is essential that safety be the main focus. Some of the most important measures that can be taken is to ensure that the power supply has been disconnected before a strip or its wiring is touched. Additionally, you should verify that you are indeed using the appropriate voltage adapter. A combination of a 12V strip with a 24V supply (or vice versa) will not only give an instant LED failure, but it will also cause overheating. During the soldering process, it is essential to exercise caution when handling the soldering iron, as the heated portion of the iron becomes extremely hot and therefore, it is very easy to get your skin burnt and the strip can be damaged if you leave the iron in contact with it for a long time. Make sure that you have enough ventilation when you are soldering so that you do not breathe in the fumes, and also, keep the flammable materials away from your work area. Protect and cover joints that are exposed in the same manner as shorting is prevented by giving them insulation with electrical tape or heat shrink tubing. For waterproof LED strips, it is recommended that the resealed joints are both dry and very well sealed to prevent the entry of water and make sure that they are not at risk of releasing electric shocks. It is better if the multimeter is used before the final installation to test the voltage and polarity as this goes a long way in preventing wiring mistakes. Lastly, never overcharge the power source, figure out the total wattage of the strip and choose an adapter that has at least 30–50% more capacity than the load for safe usage. This way, you will not only be safe from any mishaps, but your LED strip lights will also have a longer lifespan and will function properly.
Step by Step Repair Guide
1.Visual examination and basic checks
Begin with a thorough visual examination: burnt or dark spots, separated/cut parts, lifted pads, rust, worn cables, or water ingress are the things to look for. Try to detect the smell of burnt and check the power adapter and the controller if you notice bulging capacitors or the places that are scorched. In most cases, the visible defects indicate if the problem is a bad power supply, a cut trace, or corrosion at a connector.
2. Make sure that the power supply is working and check the connectors
To start with the repair of led strip light in case the adapter is not connected to the power strip but it is still connected to the mains (or if you have another adapter), you should first check the DC voltage with a multimeter. The voltage should match the one indicated on the power strip (usually 12 V or 24 V). In case the voltage is weak, fluctuating, or missing, then the adapter should be changed to a new one or a test with a good power supply should be performed. Check barrel plugs, screw terminals and quick-connects if they are tight and of the correct polarity; loose or reversed connections are a very common failure.
3. Try the strip on a power supply that is known to be good
Remove the strip from any controller and then connect a short section (or the strip’s start) directly to a DC supply of the correct voltage that is known to be good. If the strip lights normally, the problem lies upstream (controller, remote, or wiring).
4.Identify the damaged section of the strip.
LED strips consist of segments that can be repeated. The multimeter continuity function can be used to test copper traces and pads across segments—breakage of continuity most often signifies a severed trace or a cut. Try to find the spot of loose joints by wiggling connectors and cables while watching for intermittent behavior. In the case of RGB, check each channel (R, G, B) and +V separately; if only one channel is dead, then the cause can be wiring/controller or a damaged LED channel.
5. Discard the damaged parts (cut at the marked lines)
You may have to scrape and solder to reconnect if you mistakenly cut between pads. Removed pieces should be kept for comparison so that replacement segments can be compatible in LED density, type, and voltage. 10. Test it before you stick it down
6. Reconnect using connectors or soldering (best practice)
Moreover, if the wire is stripped or there is a short circuit, you can get it fixed in no time by using clip-on connectors which are made for the specific width or type of the strip. However, for a more permanent and safe repair, you should go for soldering the wires. Remove the grease from the copper pads, put some flux, “tin” both the pad and wire, then solder them quickly with a properly heated iron. Remember to keep the polarity and the channel order intact (for RGB: R, G, B, +V or whatever the strip uses). Do not make the solder joints too large and use strain relief (glue, cable tie) so that the movement won’t put stress on the joint.
7. Replace individual LEDs (advanced)
First of all, in a repair led strip light if a single LED is not working and you are skilled in delicate soldering, only then can you remove the damaged LED with a hot iron and wick or hot air and then place a suitable replacement in the correct orientation. Micro-SMD LEDs are so small that they require steady hands and proper tools; thus, this step is high-level and not recommended without practice.
8. Employ power injection to achieve longer distances and handle significant loads.
In the case that the brightness fades towards the far end of a long run, power should be injected closer to that section to be able to continue running the light normally without any brightness issues. In other words, run additional +V and ground wires from the power supply to intermediate points (every few meters depending on strip and gauge). In the case of RGB strips, power should be injected for every channel so as to avoid the problem of channel voltage imbalance.
9. Addressable strips (WS281x, etc.) — special considerations
In instances where pixels can be addressed individually, it is essential to confirm the data direction (indicated by the arrow on the strip). the first pixel and a large electrolytic capacitor (e.g., 470–1000 µF) across +V and G at the strip input should be placed for inrush smoothing. If your microcontroller runs on 3.3 V logic and the strip is designed for 5 V, it is better to use a level shifter or else the first pixel may misread. For long data runs, data repeaters/buffers can be utilized.
10. Test it before you stick it down
Before it is too late, access the fixed part, and check if the colors are going to be correct (if it is an RGB strip), it has the proper brightness and that it is not flickering. Check each wire and solder point by wiggling them slightly to ensure that there is no loose connection. If it all seems good, cover any bare solder with heat shrink or silicone, and seal the ends (with silicone or caps) if you’re using it where it might get wet.
Pro Tip
During the repair of led strip light, it would be wise to take a look at the damage that has happened to your LED strip before you start repairing it. Let’s say only a small section is faulty or a few LEDs are broken, then it is a good idea to fix it by soldering or reconnecting the wires. But, if there are several segments that have been burnt out, the backing has lost its adhesive completely, or the strip is suffering from widespread dimming, replacement will do more job than repair in terms of time and money. Also, having extra connectors, spare parts, and a power supply with you is a great idea for fast repairs. On longer strips, always work out power injection locations to avoid voltage drop and brightness leveling along the strip. Besides achieving a more aesthetic way of installing the LED strip, the aluminum profile or channel also allows the heat to be dissipated thus the LEDs last longer. Again, mark the voltage and capacity of your power supplies and controllers so as not to have the wrong ones during your future repairs or upgrades. This action will save you time and avoid you from mixing up frustrations and thus your LEDs will stay. Click Here
Follow us on LinkedIn